Written in collaboration with Scalekit.
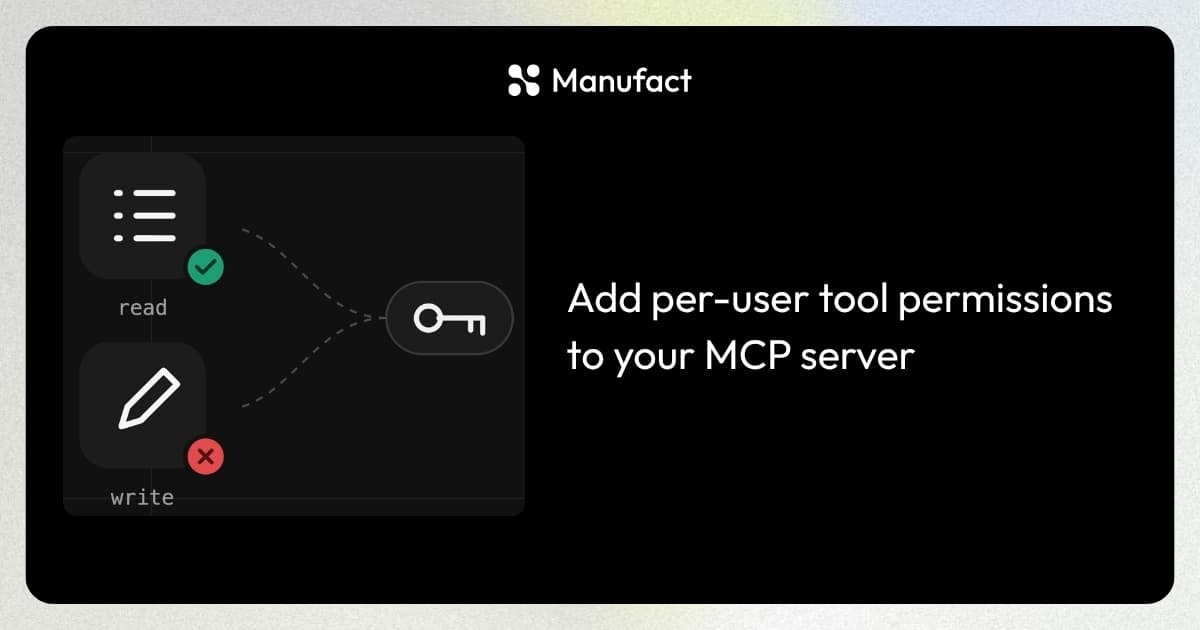
This tutorial shows how to reject MCP tool calls the signed-in user is not allowed to make, using mcp-use, our open-source TypeScript framework for MCP servers. The worked example is a notes server where list_notes requires notes:read and add_note requires notes:write: a read-only user gets the list, gets denied on the write, then succeeds after you grant write. You prove all three in mcp-use Inspector.
The check matters because login only names the caller. One MCP server runs at one address, every customer connects an agent to it, and a customer who can only read notes will still ask that agent to edit one. Without a permission check inside the tool, everyone who can sign in can write.
How the check works
mcp-use verifies the caller's token and puts their identity and permissions on the tool context, so the check is a few lines in your handler. The permissions come from an authorization server; this walkthrough uses Scalekit, one of the OAuth providers mcp-use supports out of the box, and the pattern is the same with any provider. Add login from the provider page first, then continue here.
- mcp-use Inspector, or any agent, calls a tool with a bearer token.
- mcp-use verifies the token. No auth-provider client secret lives on your server.
- The verified token names the user and lists their permissions. These are permissions on the token, not OAuth scopes such as
openid. - The handler runs only if the required permission is on that list. Otherwise the server returns a missing-permission error.
Prerequisites
| Need | How to check |
|---|---|
| Node.js 22.22.2 or newer | node --version |
| A Scalekit account with an MCP server resource | Dashboard → MCP servers |
| DCR and CIMD on for that resource | Inspector can register as a public client |
Server URL http://localhost:3000/mcp, no trailing slash | Must match MCP_URL |
Permissions notes:read and notes:write | Dashboard → Authorization → Permissions / Roles, not MCP server Scopes |
| A test user who has read and not write | So the deny path is real |
| The example repo | scalekit-developers/scalekit-mcpuse-example (ships whoami and greet; you add the notes tools below) |
Register the MCP server in Scalekit before cloning the repo (details on the Scalekit provider page):
- Open Scalekit Dashboard → MCP servers → Add MCP server. The name appears on the consent screen.
- Turn on dynamic client registration (DCR) and Client ID Metadata Document (CIMD). Public clients such as Inspector need at least one of these. Keep both on.
- Under advanced settings, set Server URL to
http://localhost:3000/mcpwith no trailing slash. - Save. Copy the Environment URL and the Resource ID (
res_…). Dev environments look likehttps://<your-env>.scalekit.dev; some workspaces show.scalekit.cloud. Use the exact value from the dashboard.
The example repo mounts Inspector at http://localhost:3000/mcp/inspector once the dev server is running, and the walkthrough below uses that. The hosted inspector.mcp-use.com and npx @mcp-use/inspector also work, and any MCP client connects the usual way:
claude mcp add --transport http notes http://localhost:3000/mcpHow to set up the server and sign in
Configure the environment
Clone the example, install, and copy .env.example.
git clone [email protected]:scalekit-developers/scalekit-mcpuse-example.git
cd scalekit-mcpuse-example
npm install
cp .env.example .env
Set these three values. MCP_URL must match the Scalekit Server URL exactly: trailing slash, port, and http vs https all count. There is no client ID and no client secret, because the resource server only verifies tokens Scalekit already issued.
# Never hardcode secrets; use environment variables.
# Names below match the example repo .env.example.
MCP_USE_OAUTH_SCALEKIT_ENVIRONMENT_URL=https://your-env.scalekit.dev
MCP_USE_OAUTH_SCALEKIT_RESOURCE_ID=res_xxxxxxxx
MCP_URL=http://localhost:3000/mcp
Attach the Scalekit provider
oauthScalekitProvider is how mcp-use verifies tokens: it checks each incoming token against Scalekit's published keys, so no client secret lives on the server. The example repo passes the three env values in code.
import { MCPServer } from "mcp-use";
import { oauthScalekitProvider } from "./oauth/scalekit.js";

const server = new MCPServer({
  name: "scalekit-mcpuse-example",
  version: "1.0.0",
  oauth: oauthScalekitProvider({
    // Never hardcode secrets; use environment variables.
    environmentUrl: process.env.MCP_USE_OAUTH_SCALEKIT_ENVIRONMENT_URL!,
    resourceId: process.env.MCP_USE_OAUTH_SCALEKIT_RESOURCE_ID!,
    resource: process.env.MCP_URL!,
  }),
});

export default server;
That block is already in the example index.ts. Do not replace the file. Add the notes tools next to whoami and greet.
Run the server
npm run devThis serves MCP at http://localhost:3000/mcp and Inspector at http://localhost:3000/mcp/inspector.
Open Inspector. Connect to http://localhost:3000/mcp. The first call returns 401. Complete Scalekit login. Call whoami.
You should see a user id, subjectType: "user", and an aud value that includes your res_….
{
  "user": {
    "id": "usr_123",
    "subjectType": "user"
  },
  "scopes": ["openid", "profile"],
  "permissions": [],
  "iss": "https://your-env.scalekit.dev",
  "aud": ["http://localhost:3000/mcp", "res_xxxxxxxx"]
}
permissions is empty because no role is assigned yet; that comes next. If login fails, use the troubleshooting table in the example README.
How to grant access to specific tools
1. Define the two permissions in Scalekit
Create notes:read and notes:write under Dashboard → Authorization → Permissions, not under the MCP server's Scopes. Scopes strings land on ctx.auth.scopes and are not the tool gate in this walk; Authorization permissions land on ctx.auth.permissions, which is what the tools check.
- Create
notes:readandnotes:write(resource:action names). - Open Roles. Create
notes_readerwith onlynotes:read, andnotes_writerwith both. The dashboard rejects a dot in the role name (notes.reader) and storesnotes_reader. - Assign
notes_readerto your test user (organization member).
The strings must match the tool checks exactly. If whoami later shows notes:read under scopes while permissions is still [], the strings went in as MCP Scopes; move them to Authorization and reconnect Inspector.
2. Add the two tools
Register both tools on the same server. After mcp-use verifies the token, each handler receives a context object carrying the signed-in user and their permissions. Notes stay in memory, keyed by user id, which is enough to prove isolation.
// index.ts: add next to the existing whoami tool
import { z } from "zod";

type Note = { id: string; text: string; userId: string };
const notes: Note[] = [];

function deny(message: string) {
  return {
    isError: true,
    content: [{ type: "text" as const, text: message }],
  };
}

function requireUser(subjectType: string) {
  if (subjectType === "machine") {
    return deny("User session required");
  }
  return null;
}

function requirePermission(permissions: string[], permission: string) {
  if (!permissions.includes(permission)) {
    return deny(`Missing permission: ${permission}`);
  }
  return null;
}
requirePermission is the gate. It reads ctx.auth.permissions from the verified token. It does not read ctx.auth.scopes.
list_notes needs notes:read. It returns only notes for the signed-in user.
export const listNotes = server.tool(
  {
    name: "list_notes",
    title: "List notes",
    description: "List notes for the signed-in user",
    annotations: {
      readOnlyHint: true,
      destructiveHint: false,
      openWorldHint: false,
    },
  },
  async (_args, ctx) => {
    const blocked =
      requireUser(ctx.auth.user.subjectType) ??
      requirePermission(ctx.auth.permissions, "notes:read");
    if (blocked) return blocked;

    const mine = notes.filter((note) => note.userId === ctx.auth.user.id);
    return {
      content: [{ type: "text", text: JSON.stringify(mine, null, 2) }],
    };
  },
);
add_note needs notes:write. A read-only user hits deny here.
export const addNote = server.tool(
  {
    name: "add_note",
    title: "Add note",
    description: "Add a note for the signed-in user",
    inputSchema: z.object({
      text: z.string().min(1),
    }),
    annotations: {
      readOnlyHint: false,
      destructiveHint: false,
      openWorldHint: false,
    },
  },
  async ({ text }, ctx) => {
    const blocked =
      requireUser(ctx.auth.user.subjectType) ??
      requirePermission(ctx.auth.permissions, "notes:write");
    if (blocked) return blocked;

    const note = {
      id: String(notes.length + 1),
      text,
      userId: ctx.auth.user.id,
    };
    notes.push(note);
    return {
      content: [{ type: "text", text: JSON.stringify(note, null, 2) }],
    };
  },
);
Do not gate tools on ctx.auth.scopes: scopes is the OAuth grant, permissions is what this person may do. The mcp-use user context page draws that same line.
3. Sign in as a read-only user
Confirm the test user has notes_reader only. Reconnect Inspector so Scalekit mints a new token. Complete login. Call whoami again.
You should see permissions include notes:read and not include notes:write.
{
  "user": { "id": "usr_123", "subjectType": "user" },
  "scopes": ["openid", "profile"],
  "permissions": ["notes:read"]
}
If permissions is still empty, the role is not on that user, you created MCP Scopes instead of Authorization permissions, or Inspector is holding the old token. Reconnect. Do not keep calling tools against a stale token.
How to test the flow in mcp-use Inspector
This section is the proof. Stay in http://localhost:3000/mcp/inspector.
Call the allowed tool
Run list_notes.
Expected result: an empty array. The user has notes:read. There are no notes yet.
[]Call the denied tool
Run add_note with text set to first note.
Expected result: a missing-permission error. Treat this as success. A 401 here means authentication broke. A missing-permission payload means authorization worked.
{
  "isError": true,
  "content": [{ "type": "text", "text": "Missing permission: notes:write" }]
}
Grant write, then retry
Add notes:write to the same user, or move them to notes_writer. Reconnect Inspector so the next token includes the new permission. Call add_note again with text set to first note. Then call list_notes.
The same user, on the same server, now has one deny and one allow. The new note belongs to this usr_… only.
{
  "id": "1",
  "text": "first note",
  "userId": "usr_123"
}

[
  {
    "id": "1",
    "text": "first note",
    "userId": "usr_123"
  }
]
A second browser profile that signs in as another user sees an empty list. That check is optional. The required proof is the deny, then the allow, in Inspector.
What the code is doing
- Token verification in
oauthScalekitProviderproves authentication: the token is valid and was issued for this MCP server. ctx.auth.user.idin the tool body keeps data per person.ctx.auth.permissions.includes("notes:write")in the tool body proves authorization: this person may run this tool.
mcp-use does not invent permissions. Scalekit puts them on the token, and the tool enforces them.
Common failure modes
Why did Inspector never open login?
DCR and CIMD are both off, or Inspector cached old authorization-server metadata. Turn at least one of DCR or CIMD on, save, and reconnect.
Why is every tool 401 after login?
MCP_URL does not match the Scalekit Server URL. Compare trailing slash, port, and scheme.
Why does add_note succeed when the user has no write permission?
The tool is not checking ctx.auth.permissions, or it is checking ctx.auth.scopes instead. Fix the check. Then reconnect so you are not looking at a leftover success from an earlier token.
Why do I still miss notes:write after I added it in the dashboard?
You added it under MCP server Scopes, or the token is old. Create it under Authorization → Permissions, assign the role, then reconnect Inspector.
Why is whoami fine but list_notes empty after a successful write?
You are looking at a different usr_…. A second account, or a second Inspector session, has its own note list.
Tradeoffs
- Shared API key, no permissions: local spike. Not a customer-facing server.
- Login only, every tool open: demo. Breaks on the first write that user should not have.
- Scalekit permissions plus tool checks: an MCP server that other people call.
Notes live in memory. A process restart wipes them. Permissions still hold after the restart. Swap the array for your store when you need durability. Keep the same userId and permission checks.
What's next
- Authenticate an mcp-use server with Scalekit
- User context in mcp-use: everything your tool handlers can read off
ctx.auth - MCP authentication: a complete guide: how OAuth 2.1 and client registration work across the protocol
- How to set up OAuth in your MCP servers: the same pattern with other providers, including the OAuth Proxy for providers without DCR
- Deploy to Manufact Cloud when you outgrow localhost
- Example repo README
- Replace
notes:readandnotes:writewith the permissions your real tools need