Building an MCP server locally is fast. Testing it against a real AI client is where things slow down.
ChatGPT and Claude can't reach localhost. At some point you need a public URL, and the usual options each come with a catch.
ngrok: on the free tier, HTTP traffic passes through an interstitial warning page that breaks the MCP handshake. You upgrade to skip it, but now your URL changes every time you restart the tunnel, so you go back to Claude, open the connector settings, paste the new URL, and reconnect. Every session.
cloudflared tunnel: no interstitial, but the same URL-churn problem. Subdomains are tied to your account, not to your project. Still reinstalling.
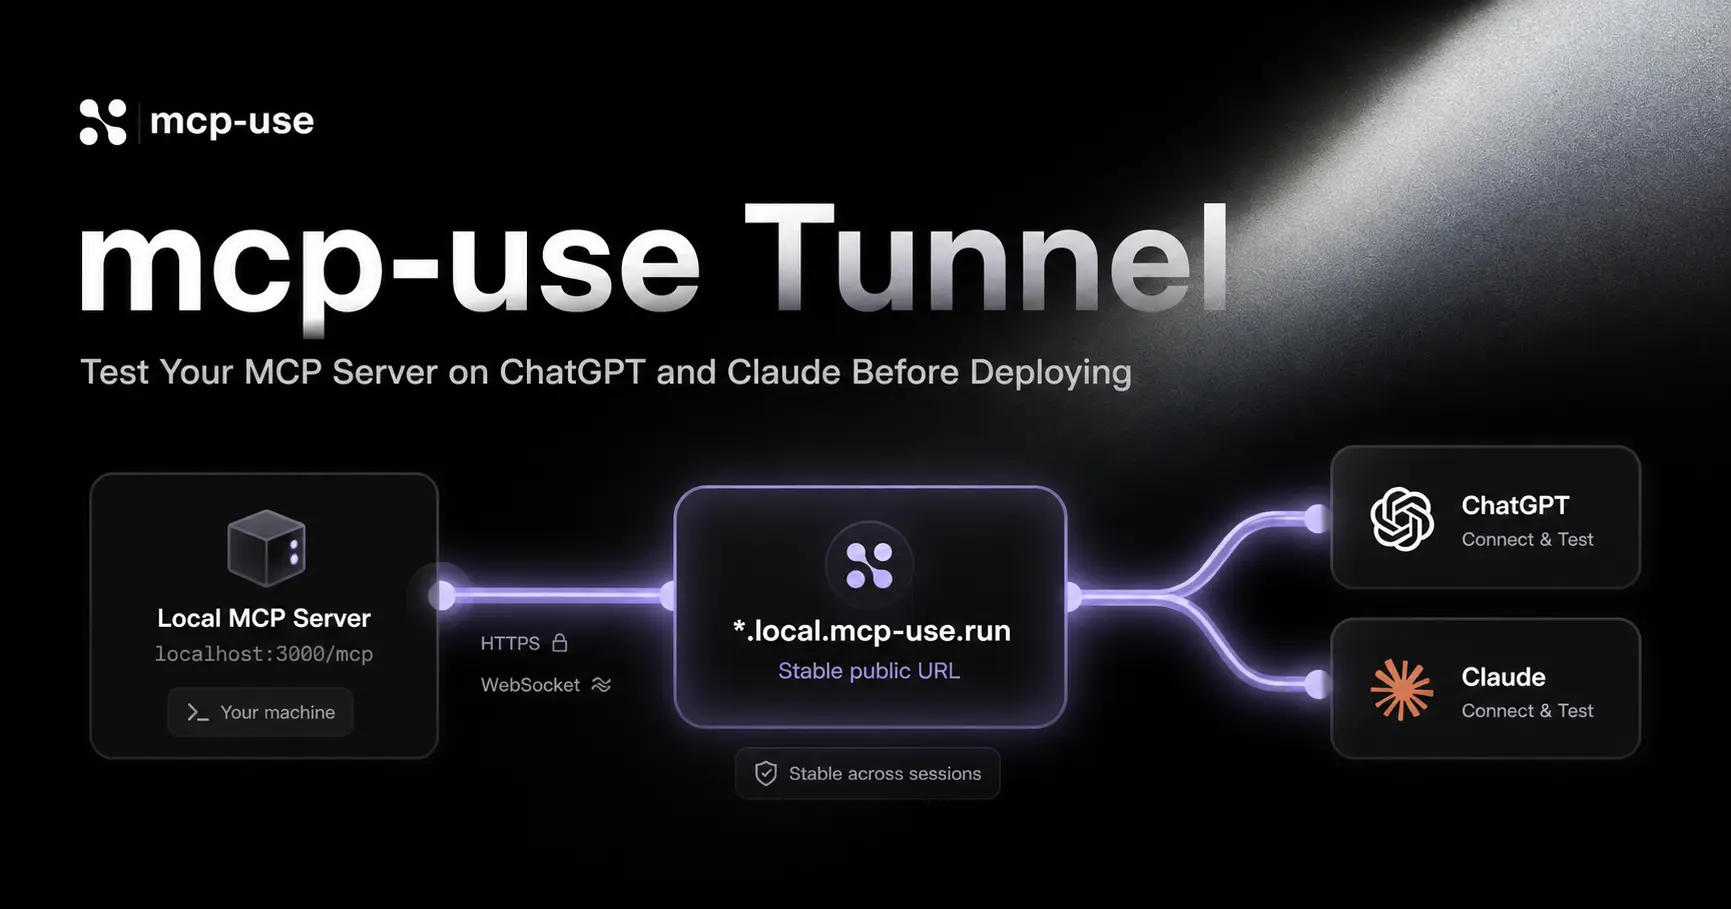
What you actually want is a stable public URL that stays the same across sessions and requires zero configuration after the first run.
How it works
@mcp-use/tunnel creates a WebSocket connection from your local server to the mcp-use relay. Requests to your public URL are forwarded over that connection to your local port; responses come back the same way.
The subdomain is generated from your project and written to dist/mcp-use.json on first run. Every subsequent run requests the same subdomain. Your URL stays the same.
Three ways to use it
1. Standalone: any MCP server
Point it at any local port. Install the URL in Claude or ChatGPT once. Leave it there; the same subdomain comes back on the next run.
2. Built into the CLI: one flag, no extra terminal
If your server runs with mcp-use start or mcp-use dev, pass --tunnel and the tunnel starts alongside the server:
The ready output includes the tunnel URL:
Give ChatGPT or Claude that tunnel URL. Next session, it still works.
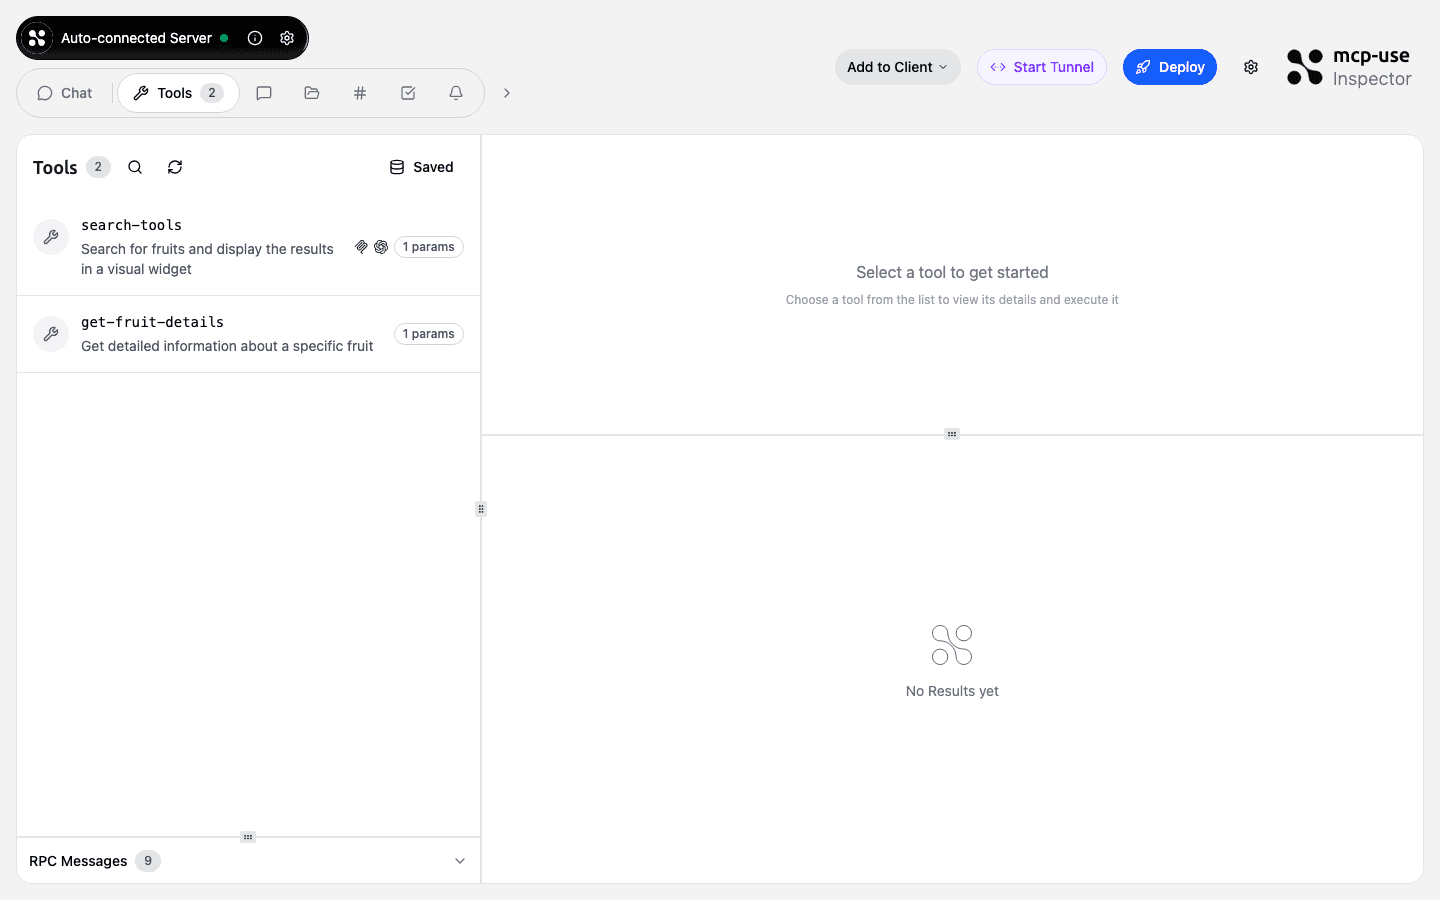
3. Inspector UI: no CLI needed
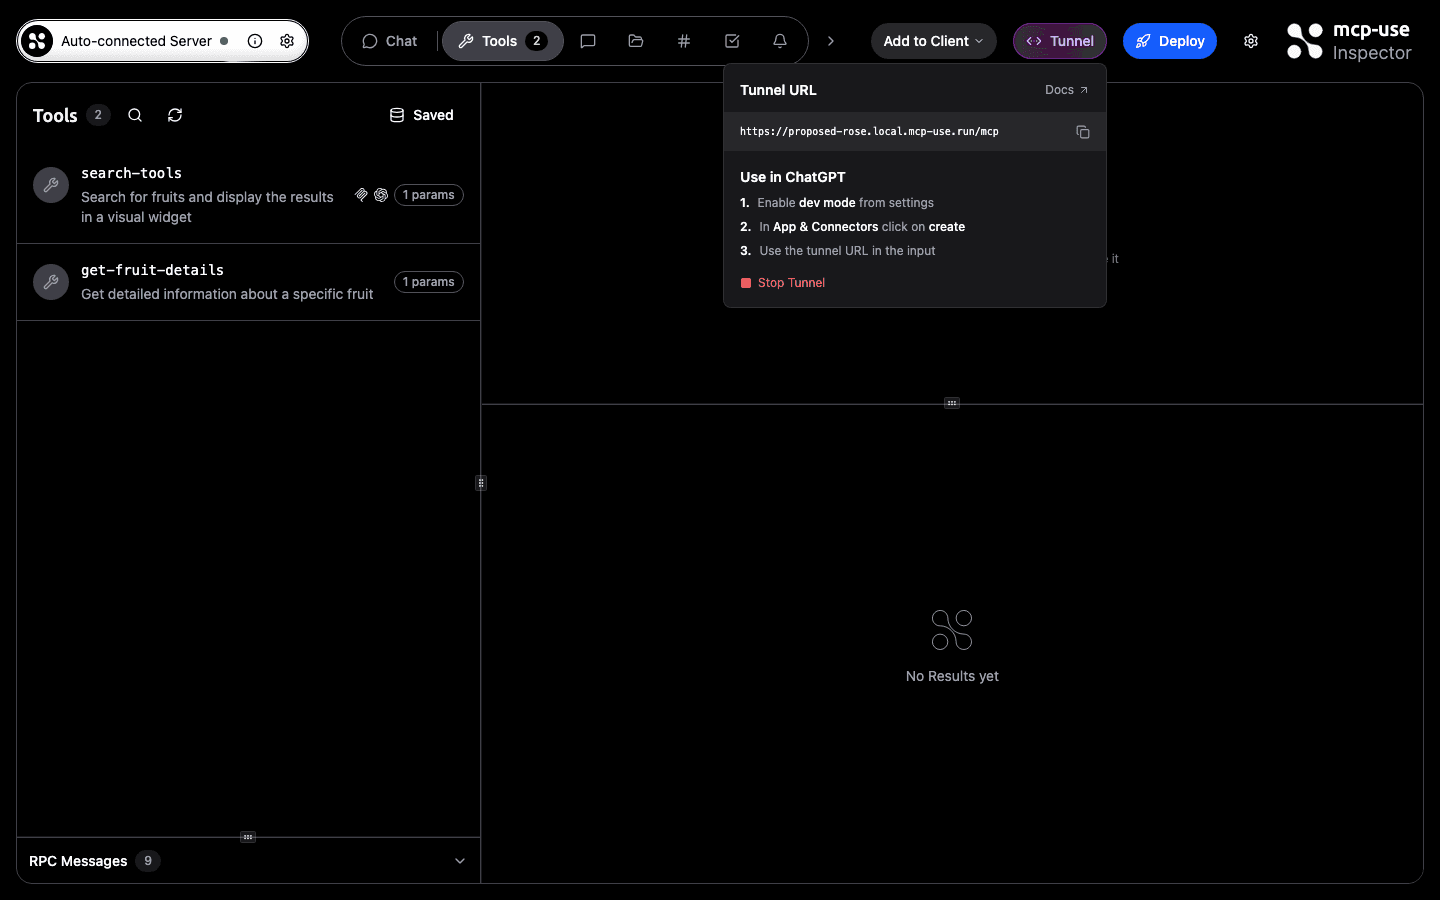
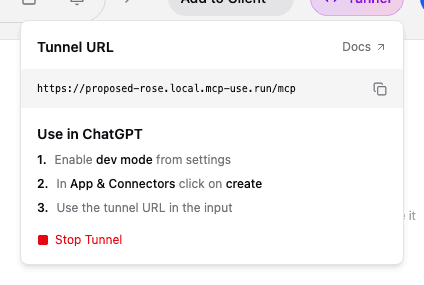
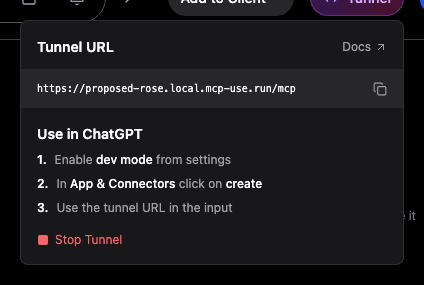
The mcp-use Inspector has a Start Tunnel button in the header. Click it, and after a few seconds the button label changes to Tunnel. A popover shows you the URL and the exact steps to install it in ChatGPT.
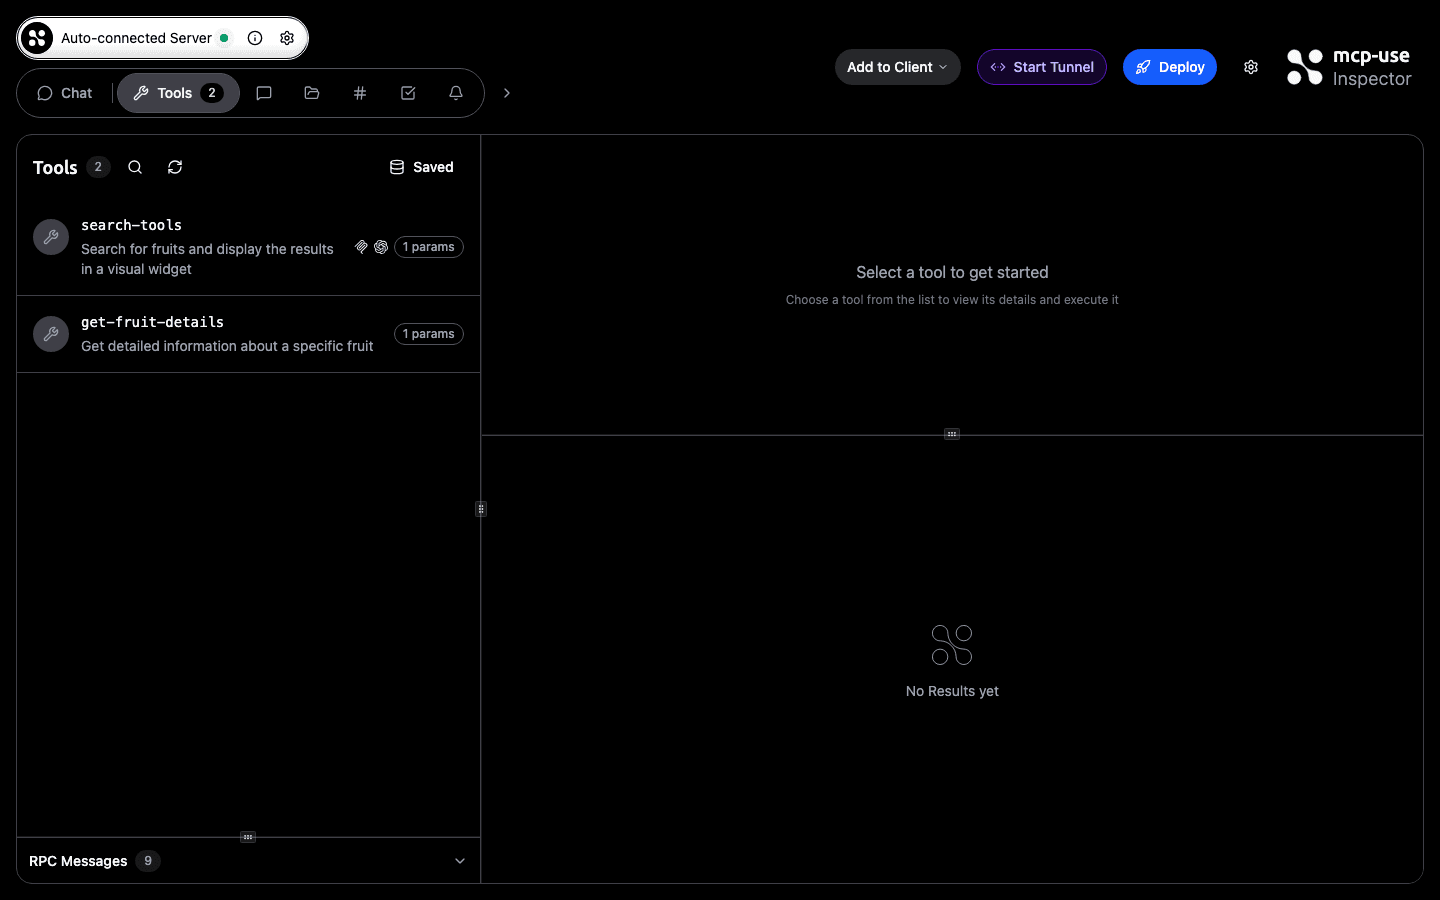


After clicking, the button shows a countdown while the connection is being established:


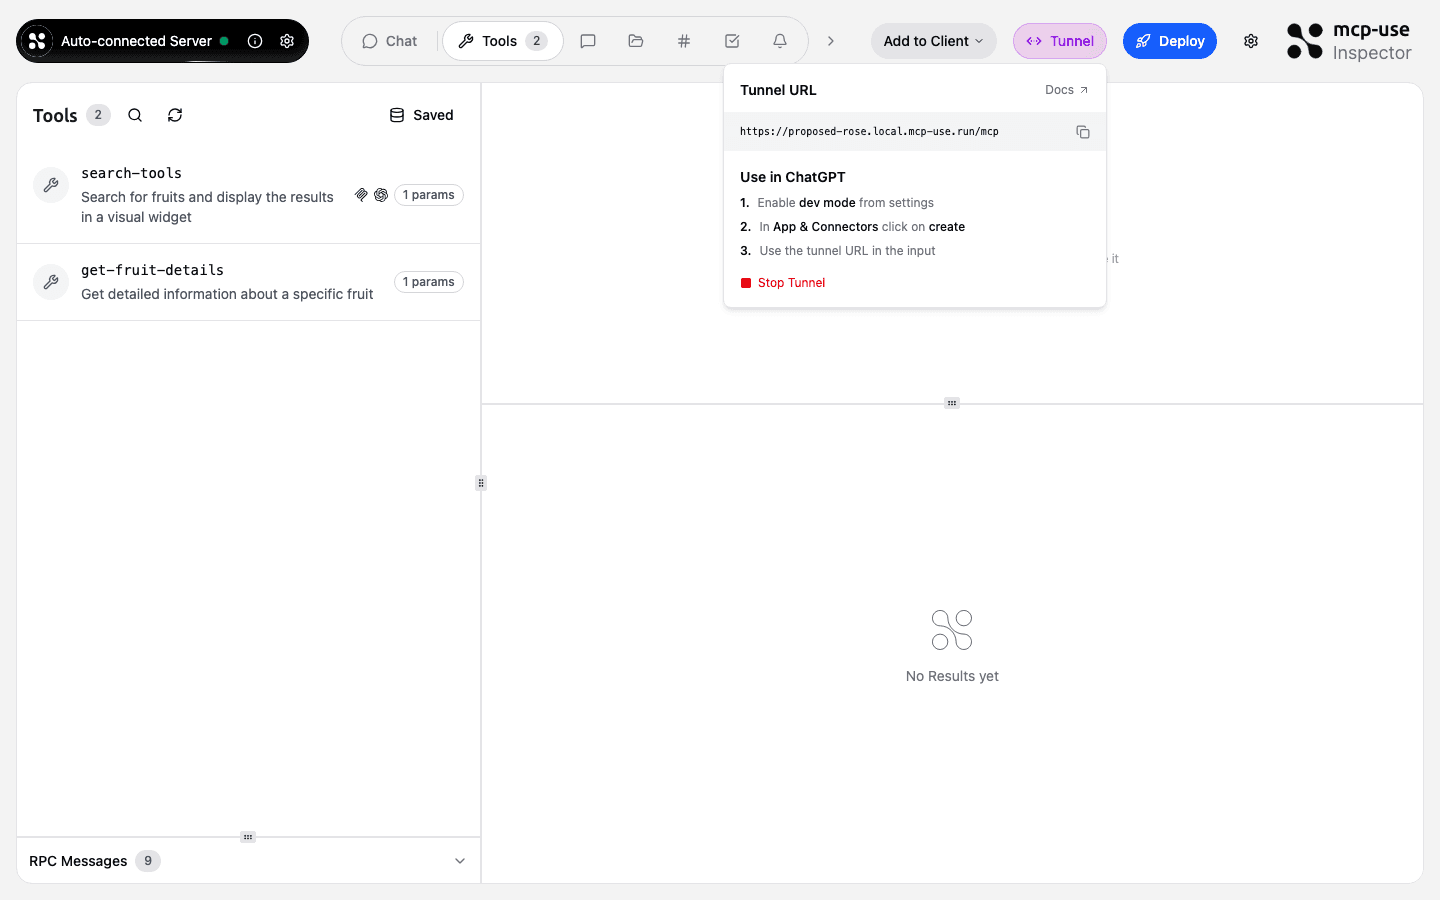
Once active, the button turns purple and clicking it opens the URL popover:
The development loop
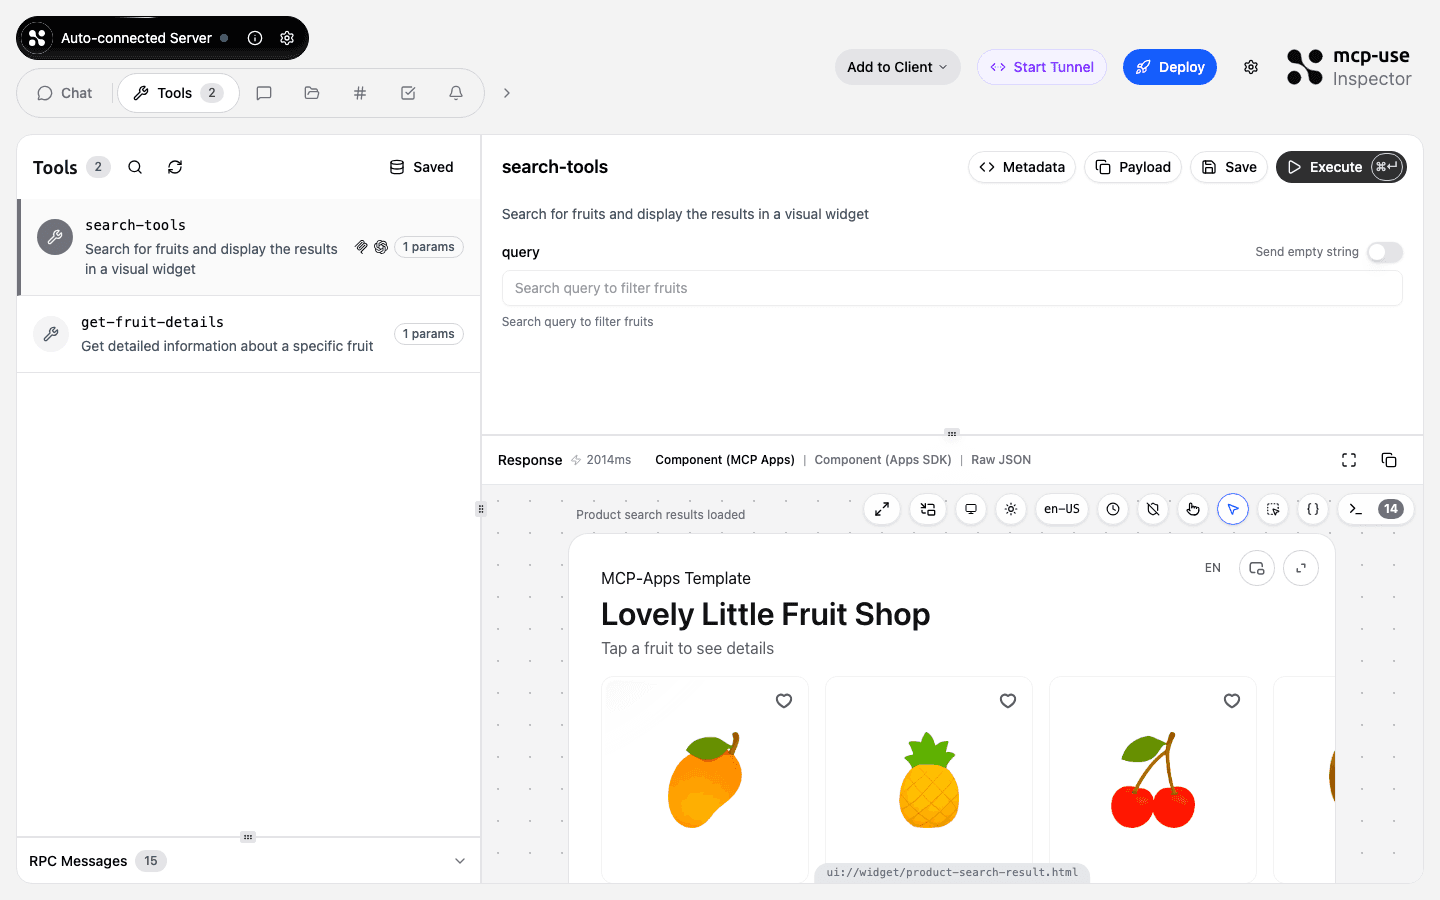
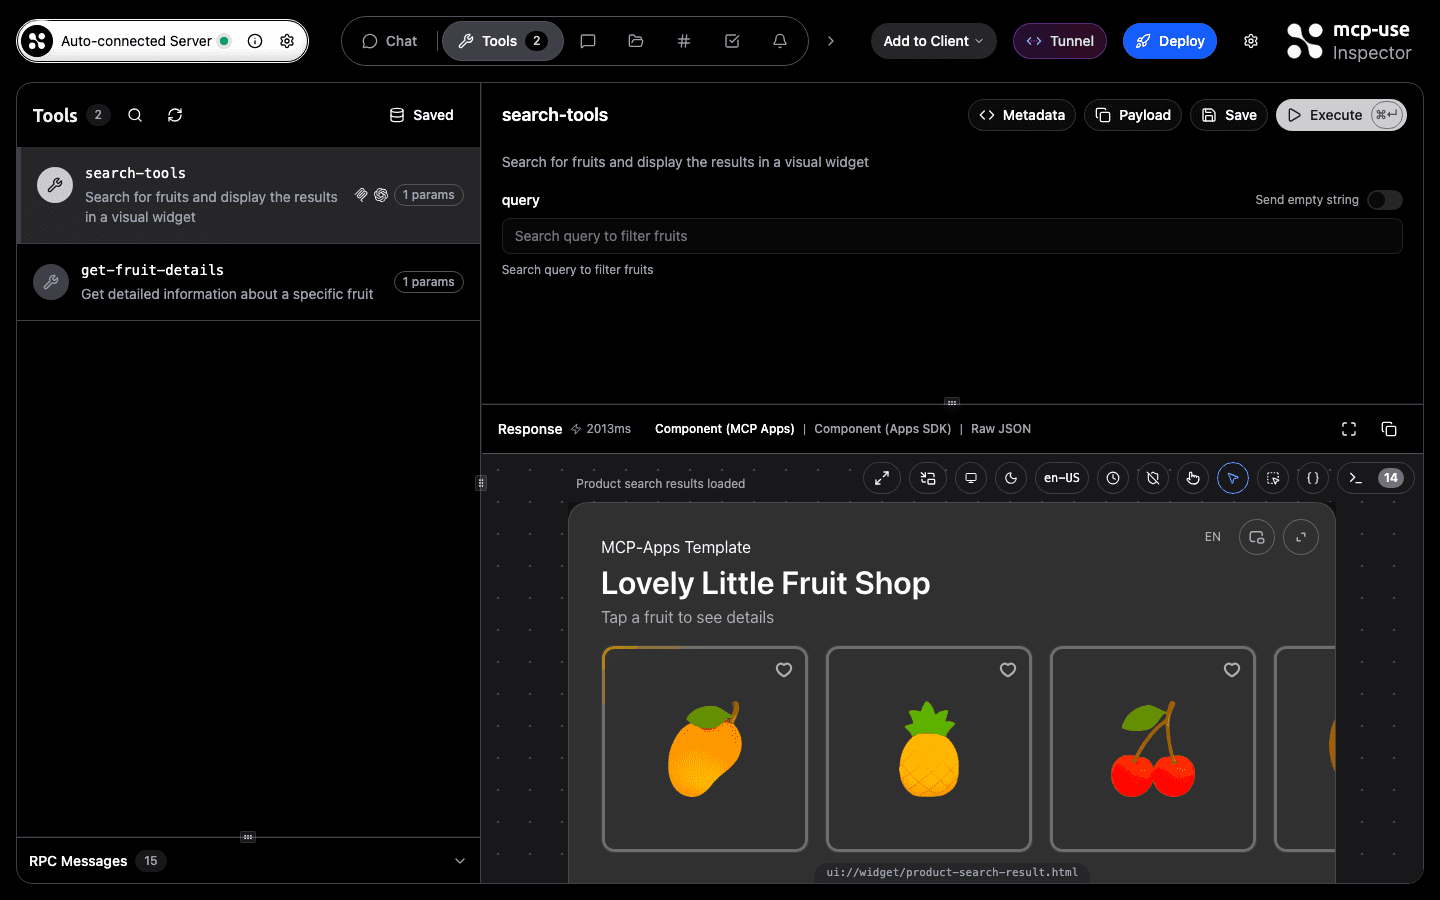
The Inspector is where the tunnel toggle makes the most sense. The whole iteration cycle lives in one place: call your tools, inspect responses, see live widget output; when you're ready to test against a real LLM, flip the tunnel without leaving the tab.
With the mcp-apps template, the tool runner renders your MCP widget directly in the response panel:
The typical flow:
Scaffold
Start the dev server
The Inspector opens at http://localhost:3000/inspector, already connected to your server.
Iterate locally
Use the Tools panel to call your tools, inspect JSON responses, and preview widgets. No real LLM needed at this stage.
Open the tunnel
Click Start Tunnel in the Inspector header. After a few seconds, the URL appears in the popover.
Install in ChatGPT or Claude
Enable dev mode in ChatGPT settings, go to App & Connectors, click create, and paste the tunnel URL. One time.
Test against the real client
Chat with your MCP server through ChatGPT or Claude. Widgets render, tools execute, the loop closes.
Next time you run npm run dev, the tunnel subdomain comes back from dist/mcp-use.json. Your ChatGPT connector still works.
Get started
If you're starting from scratch, scaffold with the mcp-apps template, which includes a product search tool with a widget so you can see the full flow immediately:
The Inspector opens with the tunnel toggle in the header.
If you already have a server running, point the standalone package at your port:
Full documentation: docs.mcp-use.com/tunneling.
Tunnels expire after 24 hours of creation; inactive tunnels are removed after 1 hour without activity.
Rate limits: up to 10 tunnel creations per IP per hour, and up to 5 active tunnels per IP at once.